
09 Aug Converting Your Fonts to Outlines with Adobe Illustrator
When submitting artwork to have printed on your promotional products, it is very important to convert all of your text to outlines when using Adobe Illustrator. In this tutorial, I will be using Illustrator CS2 to show you how to accomplish this; however, it will be very similar with newer versions such as CS3 or CS4 or older versions. With the other versions, typically just the location on the menu may vary a little. If you don’t convert your fonts to outlines, the receiving person of your art file might not have that exact same font. When they open your file, their computer will substitute another font (often similar) in it’s place which can sometimes dramatically change the look, feel, and size of your art. To avoid this, just follow these simple steps below.
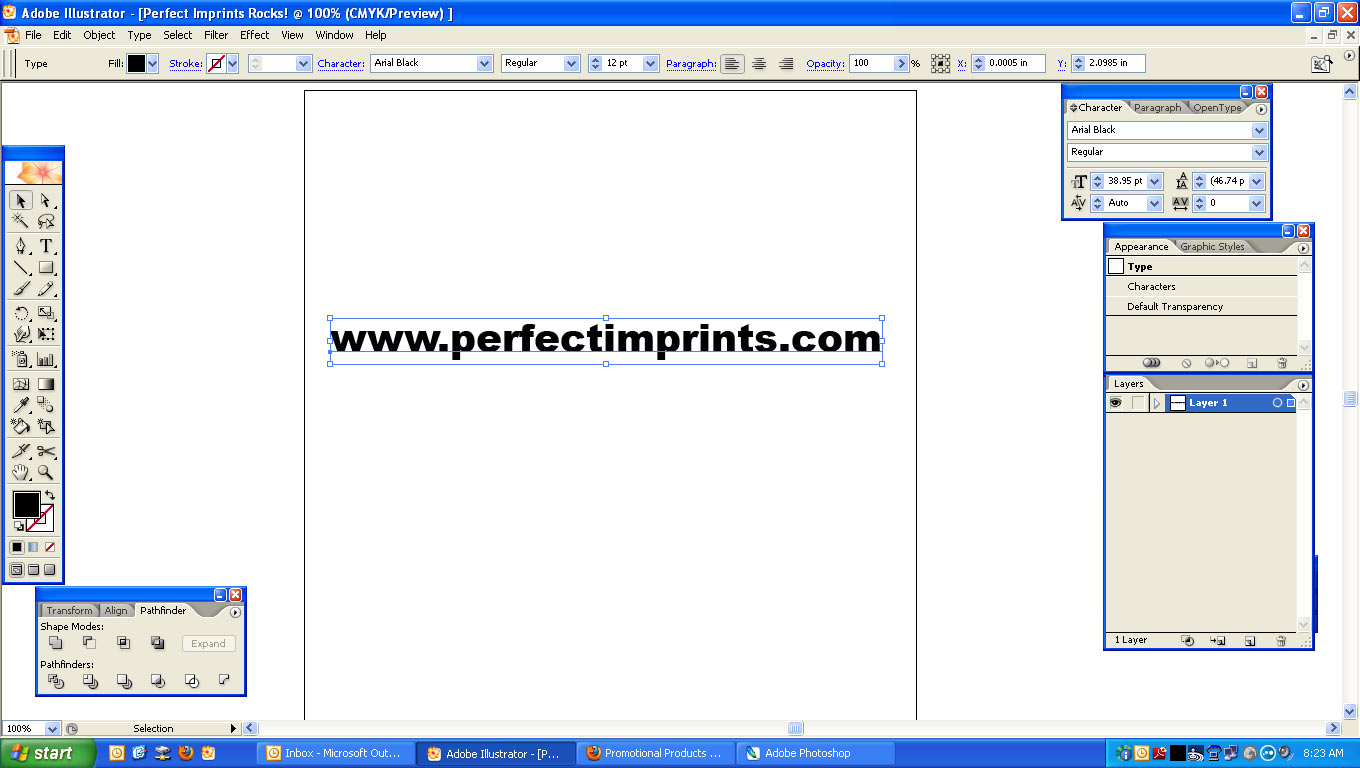
Step 1: After you have your text typed, highlight it with your pointer.

Step 2: On the top Menu, click on Type and select Create Outlines.

Step 3: Repeat with any other text on your art. Using the selection tool (black arrow), you can highlight the entire art whether you are selecting text only or text and pictures and click on Create Outlines and do all the text at once.
Step 4: Save your work.
It’s that simple. By doing this, it will ensure that your art received will look the same as what you sent. Of course, you should always receive a proof to double check.
Sorry, the comment form is closed at this time.